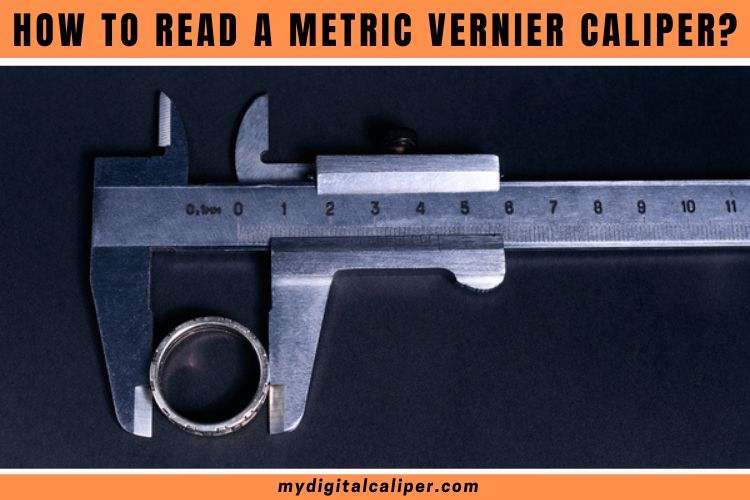
The Vernier caliper is a versatile tool that can accurately measure a wide variety of objects. The procedure and the instructions for doing so are virtually identical from one thing to the next.
People in a wide variety of industries love using this measurement tool since it provides the simplest approach for calculating any object. A good number of calipers are of the metric kind.
We have no trouble reading a metric caliper with a Vernier scale, which is straightforward but requires some computation. In this piece, one of our specialists will make an attempt to describe the procedure to the reader.

What is the Metric Measurement of the Vernier Caliper?
The Metric Vernier Caliper is a little bit difficult to use, but the calculation procedure is very much the same as usual and extremely simple. Different types of objects each have their own unique dimensions.
We can readily measure those diverse measurements with the use of a Vernier caliper, and the reading method for it is consistent no matter what.
There are two different scales. They are referred to as the main scale and the Vernier scale. The value that is displayed on the main scale and the value that is indicated on the sliding Vernier scale need to be added together before we can obtain the accurate measurement that the Vernier caliper provides.
Full Guide for Reading a Metric Vernier Caliper in 2024
Our experts simplify the procedure into these three phases for the benefit of the readers. In those steps, we explain everything about the reading Vernier caliper.
Step 1: Main scale reading
The principal scale (main scale) is first. When measuring, we should read the value from the main scale. On a metric Vernier caliper, the reading will be in millimeters (mm).
The fact that the smallest value on the primary scale in this scale is 1mm indicates that the value will increase by 1mm (indicated by a single increment).
The number immediately to the left of the 0 markers on the Vernier scale corresponds to the value on the main scale.
Let’s say you put something in the metric Vernier caliper, and you noticed that the measurement it gave you was 23 millimeters.
Because the zero is so close to the mark of 24 millimeters, we can deduce that the distance between the jaws is probably closer to 24 millimeters than it is to 23 millimeters.
Step 2: Vernier scale reading
Now it’s time to read the readings off of the Vernier caliper. The lowest distance that can be measured with a Vernier caliper is equivalent to the main scale, which indicates that its measuring range is 1 mm.
The Vernier scale that we will be looking at is graduated in 50 different increments in an example that we will be looking at.
Some have increments of 0.02 millimeters where the Vernier scale graduates at 50, while others have increments of 0.05 millimeters where the Vernier scale graduates at 20.
When reading the Vernier scale, it is important to find the increment that corresponds with an increment on the main scale in the most precise manner. This value will serve as the second component of the measurement that you do.
In this particular illustration, the increments of both scales align with one another at the 0.4mm mark on the Vernier scale.
Step 3: Combine or Add Value to the Scale.
To find out the total measurement we add the Vernier scale and main scale value. In the following example, we find out that the main scale reading is 23 and the Vernier scale reading is 0.4mm. So,
Total reading=main scale reading+ Vernier scale reading
= 23+.4
=23.4
So, the distance between the jaws of the Vernier caliper is 23.4mm.
Related: What are the Parts of a Vernier Caliper and Their Functions?
Conclusion
Utilization of the metric system for measuring The Vernier caliper isn’t too difficult to use. One of our metalworking specialists breaks down the steps involved in reading a metric Vernier caliper.
Don’t be afraid to ask questions if you feel like you are missing something in the explanation of the procedure. Stay here with us so that you can acquire further knowledge on calipers.